
Prep Time: ~15 minutes Cook Time: ~20 minutes Total Time: ~35 minutes Serves: 4
Introduction
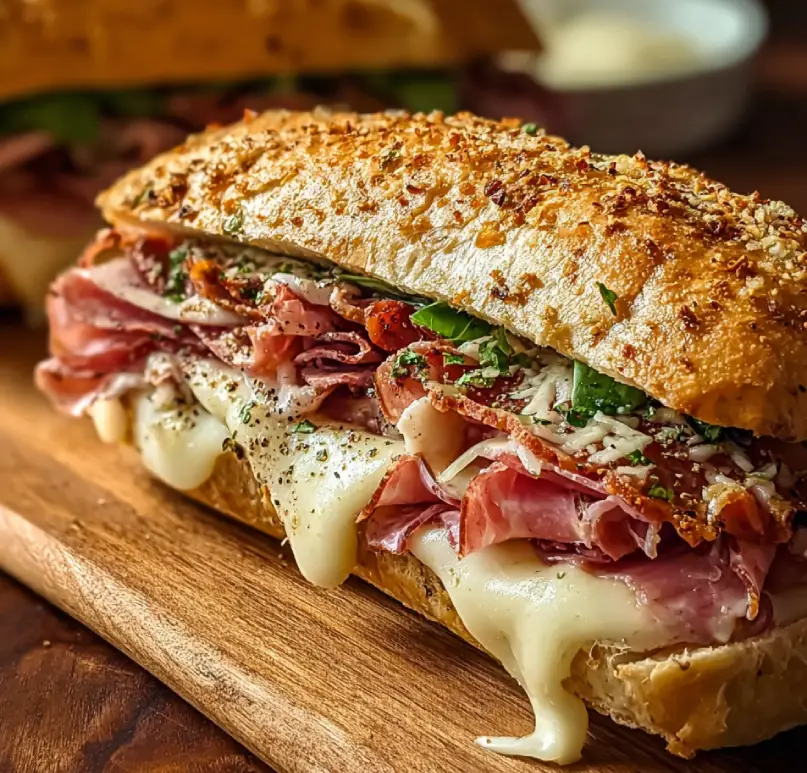
If you’re in the mood for a hearty, flavour-packed sandwich that brings deli-style favourites into a hot, melty bake, these Baked Italian Sub Sandwiches deliver beautifully. Imagine toasted sub rolls layered with Italian deli meats, bubbling cheese, tangy banana peppers and seasoning, all baked until golden and gooey. It’s comfort food at its best — easy to make, fun to serve, and very satisfying.
Why Baked Italian Sub Sandwiches Are Worth Celebrating
These sandwiches shine because they take the classic cold Italian sub format and elevate it by baking: the bread gets crisped, the cheese melts, the meats heat through and the flavours all combine cohesively. Because you’re using familiar ingredients and a simple baking process, you get that “restaurant sub” feel at home with minimal fuss. Perfect for family dinners, game nights, or whenever you want something warm and indulgent.
Ingredients
- 4 hoagie or sub rolls
- ½ lb (≈225 g) sliced deli ham
- ½ lb (≈225 g) sliced salami
- ½ lb (≈225 g) sliced roast beef or similar deli meat
- 8 slices provolone cheese (or your favourite melting cheese)
- ½ cup sliced banana peppers or pepperoncini
- 2 tablespoons melted butter
- 1 teaspoon Italian seasoning
- Optional: sliced red onion, thinly sliced tomatoes, shredded lettuce for topping
The Art of Creating Baked Italian Sub Sandwiches
The key to success here is layering and timing. You begin by opening the rolls almost completely, ensuring the meats and cheese are distributed evenly. You brush them with melted butter and sprinkle Italian seasoning so the bread becomes golden and aromatic. Then you bake until the cheese melts and the rolls toast slightly. After baking, you can add fresh veggie toppings for crunch and brightness. Because you combine hot and cold elements, crisp and soft textures, you end up with a sandwich that feels elevated yet doable.
Step-by-Step Instructions
Step 1: Pre-heat & Prep the Rolls
Pre-heat your oven to 350 °F (≈175 °C). Lightly butter or line a baking sheet. Slice each hoagie roll lengthwise, leaving the bottom hinge intact so it opens like a book.
Professional Tip: Deep hoagie rolls with a sturdy crust work best—they hold up to baking and fillings without becoming soggy.
Key Points: Proper roll prep ensures structure.
Step 2: Layer Meats and Cheese
On the bottom half of each roll, layer evenly: first the deli ham, then salami, then roast beef (or your chosen meat). Top with two slices of provolone cheese per sandwich. Distribute the banana peppers evenly across the cheese.
Professional Tip: Fold each slice of meat in half for better coverage and to reduce air pockets.
Key Points: Good layering = flavour in every bite.
Step 3: Butter & Season the Bread Tops

Brush the inside of the top half of each roll (or entire roll if you prefer) with melted butter. Sprinkle the Italian seasoning evenly on the buttered tops. Place the top half back on and place each sandwich open-side up on the prepared baking sheet.
Professional Tip: Butter and seasoning on the bread top ensures golden browning and aroma.
Key Points: Seasoned bread makes a big difference.
Step 4: Bake Until Cheese Melts
Place the sandwiches in the pre-heated oven and bake for approximately 15-20 minutes, until the cheese is fully melted and the sandwich is heated through. If you like the tops extra crisp, switch to broil for the last 1-2 minutes—watching carefully to avoid burning.
Professional Tip: Keep an eye on the tops if broiling—bread can brown quickly.
Key Points: Melted cheese + toasted bread = ideal texture.
Step 5: Add Fresh Toppings & Serve
Remove from the oven. If using, immediately add fresh toppings such as sliced tomatoes, shredded lettuce, thin red onion slices or any additional condiments you like (Italian dressing, mayo, etc.). Close each sandwich, slice into servings and serve hot.
Professional Tip: Add fresh toppings after baking so they remain crisp rather than wilting.
Key Points: Hot inside + fresh toppings = best contrast.
Professional Tips for Mastery
- Choose fresh hoagie rolls from your bakery section for best texture.
- Use quality deli meats that are thinly sliced—thicker slices can prevent even heating.
- If sandwiches are tall, press them gently before baking so everything heats evenly.
- Brush each roll with butter just before baking; do not wait too long or bread edges can become soggy.
- If preparing ahead, assemble up to Step 3, wrap sandwiches tightly in foil and refrigerate; bake just before serving (add ~5 minutes if cold from fridge).
Creative Variations
- Spicy version: Add sliced pepperoni, hot giardiniera or a drizzle of hot sauce and use pepper-jack cheese instead of provolone.
- Vegetarian twist: Omit meats and layer grilled vegetables (zucchini, bell pepper, eggplant) with mozzarella or provolone, then bake similarly.
- Italian-style grilled sandwich: Instead of baking open-faced, close the rolls and bake wrapped in foil, then finish in a panini press for crisp external crust.
- Mini slider version: Use smaller rolls or slider buns, bake for ~10 minutes and serve as party finger food.
Perfect Pairing Ideas
These baked subs pair beautifully with crisp potato chips, a tangy pasta salad or a light coleslaw to cut through richness. For drinks, consider iced tea or a cold lager. For sauce lovers, serve with a side of marinara for dipping.
Storage Guidelines
If you have leftovers, wrap tightly and store in the refrigerator for up to 2 days. Reheat in an oven at 325 °F (~160 °C) for ~10 minutes or until warm through—this helps retain the toasted bread texture. Avoid microwaving unless you’re okay with softer bread.
The Science Behind the Flavor
Baking the sandwich does three things: it melts the cheese so it binds the layers and holds everything together; the heat causes the bread’s moisture to evaporate slightly, crisping the crust; and the butter-seasoning mixture on top enhances browning through the Maillard reaction. The banana peppers add acid and tang which brighten the rich meats and cheese, balancing the savoury intensity. Layering meats adds varied fat and flavour profiles, making each bite dynamic.
Troubleshooting Common Issues
- If the bread is soggy or heavy: it may have been cut too deeply or the roll was very soft. Choose more crusty rolls next time.
- If cheese hasn’t melted fully: your oven may be too low; increase temperature slightly or bake a few minutes longer.
- If toppings are wilted: add fresh veggies after baking—heat can degrade freshness.
- If sandwich is hard to slice cleanly: use a serrated bread knife and let it rest 1 minute after baking so it sets slightly.
Additional Inspirations
If you enjoy this method, try other “baked sandwich” formats: baked turkey-bacon cheddar subs, French-dip style hoagies with beef and au jus, or even a vegetarian baked caprese sub with tomato, basil, mozzarella and pesto. The key is layering, buttered bread and baking to meld flavours.
Conclusion
Baked Italian Sub Sandwiches are a game-changer when you want something full of flavour, texture and comfort but still relatively quick to pull together. With melted cheese, toasted bread and delicious deli fillings, you’ll likely make this again whenever you crave warm sandwich magic.