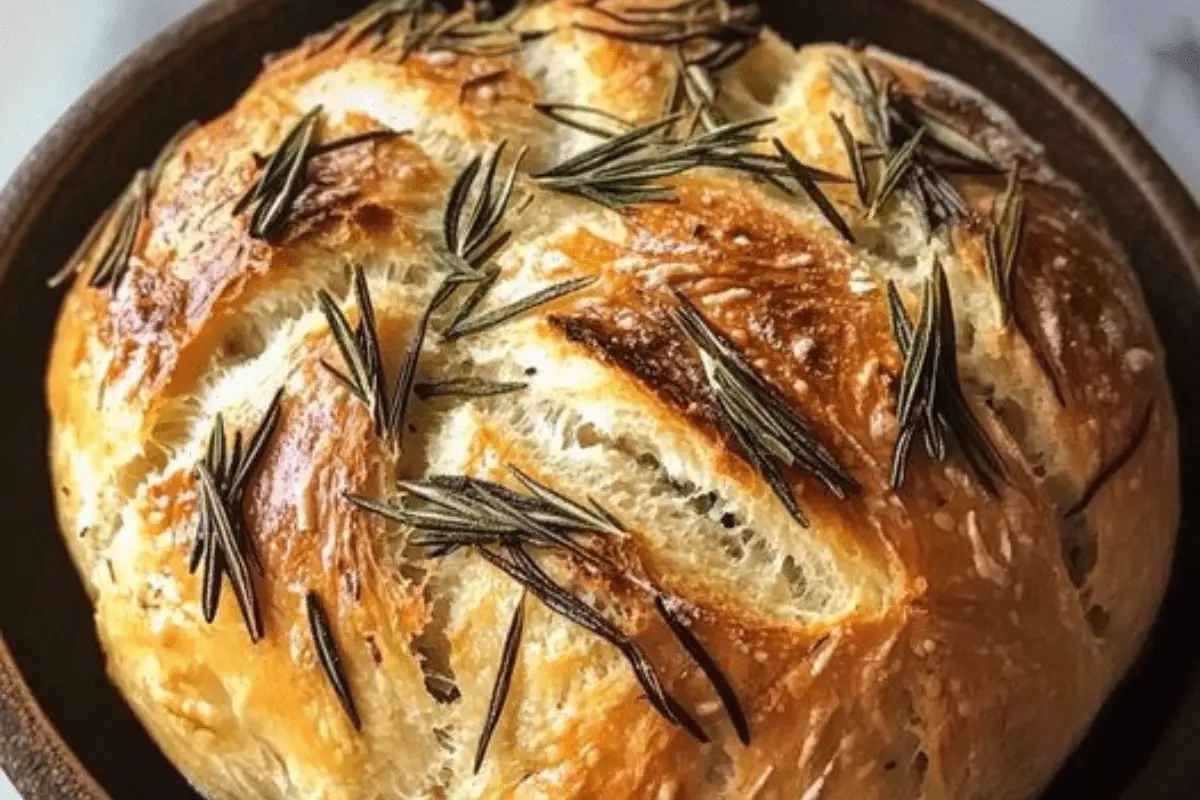
No Knead Rosemary Bread Recipe

Introduction
No rosemary bread to knead is a rustic and tasty bread that anyone can easily do at home without the need for extensive fantasy or kneading equipment. The combination of rosemary and fresh garlic gives the bread a fragrant aroma and a delicious taste, while the custom -free method allows the paste to develop a beautiful structure with a minimum of effort. This bread is perfect for associating with soups, salads or simply appreciated with olive oil or butter. The long fermentation process improves flavors and creates a soft and tasty crust, while the interior remains soft and aromatic. Whether you are an experienced beginner or baker, this hassle -free recipe gives magnificent bread each time.
Ingredients::
- 3 cups of versatile flour
- 3 garlic cloves, chopped
- 1 tablespoon of finely chopped fresh rosemary (or more, to taste)
- 1 ¼ teaspoon of kosher salt
- ¾ teaspoon of freshly ground black pepper
- ½ teaspoon of instant yeast
- 1 ½ cup of water (room temperature)
- 2 tablespoons of corn flour (to sprinkle)
Preparation:
Step 1:
In a large bowl, mix the dry ingredients: flour, chopped garlic, chopped rosemary, salt, pepper and instant yeast. Stir to uniformly distribute herbs and spices throughout the flour.
Step 2:
Slowly add the water to the dry mixture, using a wooden spoon or your hand to stir. Mix until the ingredients come together to form a wet and sticky paste. This should not take more than 30 seconds. The dough should be soft and quite humid but not too liquid.
Step 3:
Cover the bowl closely with plastic film, ensuring that no air can escape. Let the dough stand at room temperature for 18 to 24 hours. Meanwhile, the dough will increase and develop bubbles on the surface, indicating that fermentation takes place and that the dough is ready for the next step.
Step 4:
Once the dough is resting and lifted, lightly oil a 10-inch cast iron pan or wrap it in non-stick spray. Sprinkle the bottom of the pan with corn flour to prevent the bread from sticking and to give it a slightly crunchy texture on the bottom.
Step 5:
Lightly flour your work surface and gently turn the dough in the bowl. Be careful not to deflate it too much. Form the dough in a round bread by folding the edges towards the center, then gently forming it in a smooth ball. Avoid kneading it, as the objective is to keep the air bubbles formed during fermentation.
Step 6:
Place the dough in the prepared pan, sewing down. Cover the pan with a clean tea towel and let the dough increase for an additional 2 hours at room temperature, or until it has doubled. The dough should be swollen and should not go up quickly when stuffed with a finger.
Step 7:
Preheat your oven to 450 ° F (230 ° C). Once the oven is hot, place the pan with the dough inside and bake for 30 to 40 minutes, or until the bread has a golden brown crust and seems hollow when tapped. If the top brown too quickly, you can cover it with aluminum foil for the last 10 minutes of cooking.
Step 8:
Remove the oven bread and transfer it to a rack to cool. Leave to cool for at least 15 minutes before slicing and serving.
Kitchen note:
This bread is very forgiving and can be personalized with other herbs or aromas such as thyme, sage or olives. You can also experience different types of flour, such as whole wheat or bread flour, to change texture and flavor.
For a more pancake crust, you can place a pan of water in the oven while cooking to create vapor, which will help bread develop a more rustic bakery crust.
Suggestion services:
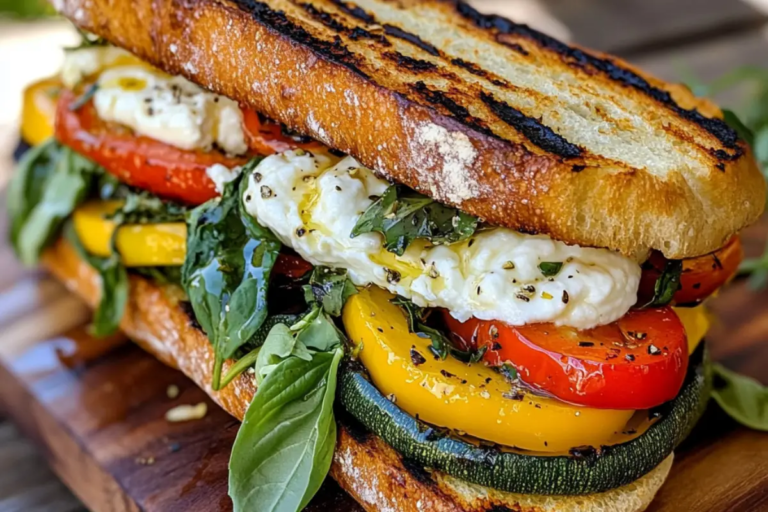
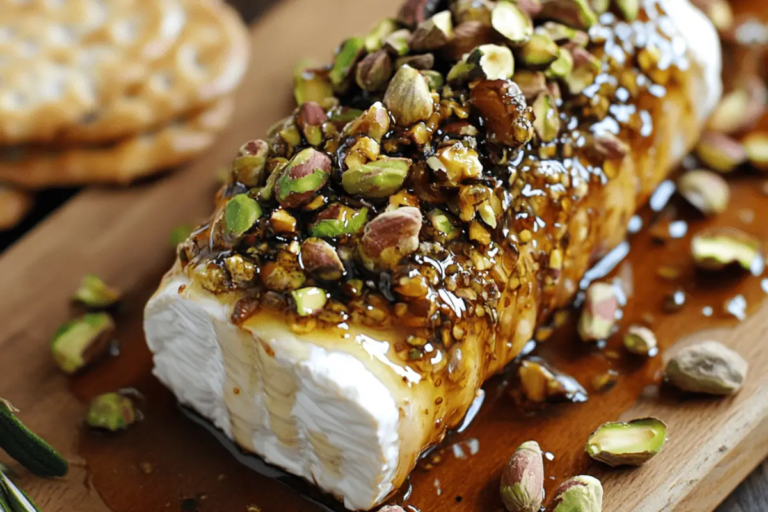
This rosemary bread without kneading is versatile and can be served in many ways. Serve it hot with a dip of olive oil and balsamic vinegar for a simple aperitif, or use it to make sandwiches with roasted vegetables, cheeses or savory meats. It goes beautifully with soups such as tomato basil or French onion, and makes an excellent companion for cheese trays, especially when associated with sweet cheeses like brie or goat cheese.
For breakfast, slices of toasted bread from the bread and spread with butter or jam, or serve next to the eggs for a generous start. It also makes delicious croutons when they are in cubes and toasted in the oven with a drizzle of olive oil.
Advice:
- For an even more pronounced garlic flavor, you can roast the garlic cloves before adding them to the dough. The roasted garlic adds a soft and slightly sweet taste that completes rosemary well.
- If you do not have a cast iron stove, you can use a Dutch oven or any safe baked pot with a lid to create a similar result. Just make sure to preheat the jar in the oven before adding the dough to get a beautiful crust.
- The dough can also be refrigerated after the initial increase up to 3 days, allowing you to cook fresh bread whenever you are ready. Refrigeration will slightly slow the fermentation process but will also improve the flavor.
Preparation time:
10 minutes (active) + 18-24 hours
Cooking time:
30-40 minutes
Total time:
19-25 hours
Nutritional information:
- Calories: 180 per slice (made about 10 slices)
- Protein: 5g
- Sodium: 290 mg
Conclusion
No rosemary bread to knead is an easy but impressive bread recipe that requires little practical time but offers a great flavor. The combination of fragrant rosemary, tasty garlic and freshly ground pepper raises this bread beyond your typical bread. The long fermentation process creates a soft breadcrumbs and a beautifully crisp crust, which makes it perfect for any meal or used. With its minimal ingredients and its effortless preparation, this safe bread recipe is certainly a favorite in your cooking repertoire. Take advantage of the satisfaction of homemade bread with this simple and rustic recipe.
Ingredients::
- 3 cups versatile flour
- 3 cloves of cloves, chopped
- 1 tablespoon Finely chopped fresh rosemary (or more, to taste)
- 1 ¼ teaspoon kosher salt
- ¾ teaspoon Freshly ground black pepper
- ½ teaspoon instantaneous
- 1 ½ cup water (room temperature)
- 2 tablespoons Margone (to sprinkle)
Preparation:
Step 1:
In a large bowl, mix the dry ingredients: flour, chopped garlic, chopped rosemary, salt, pepper and instant yeast. Stir to uniformly distribute herbs and spices throughout the flour.
Step 2:
Slowly add the water to the dry mixture, using a wooden spoon or your hand to stir. Mix until the ingredients come together to form a wet and sticky paste. This should not take more than 30 seconds. The dough should be soft and quite humid but not too liquid.
Step 3:
Cover the bowl closely with plastic film, ensuring that no air can escape. Let the dough stand at room temperature for 18 to 24 hours. Meanwhile, the dough will increase and develop bubbles on the surface, indicating that fermentation takes place and that the dough is ready for the next step.
Step 4:
Once the dough is resting and lifted, lightly oil a 10-inch cast iron pan or wrap it in non-stick spray. Sprinkle the bottom of the pan with corn flour to prevent the bread from sticking and to give it a slightly crunchy texture on the bottom.
Step 5:
Lightly flour your work surface and gently turn the dough in the bowl. Be careful not to deflate it too much. Form the dough in a round bread by folding the edges towards the center, then gently forming it in a smooth ball. Avoid kneading it, as the objective is to keep the air bubbles formed during fermentation.
Step 6:
Place the dough in the prepared pan, sewing down. Cover the pan with a clean tea towel and let the dough increase for an additional 2 hours at room temperature, or until it has doubled. The dough should be swollen and should not go up quickly when stuffed with a finger.
Step 7:
Preheat your oven to 450 ° F (230 ° C). Once the oven is hot, place the pan with the dough inside and bake for 30 to 40 minutes, or until the bread has a golden brown crust and seems hollow when tapped. If the top brown too quickly, you can cover it with aluminum foil for the last 10 minutes of cooking.
Step 8:
Remove the oven bread and transfer it to a rack to cool. Leave to cool for at least 15 minutes before slicing and serving.
Notes
This bread is very forgiving and can be personalized with other herbs or aromas such as thyme, sage or olives. You can also experience different types of flour, such as whole wheat or bread flour, to change texture and flavor.
For a more pancake crust, you can place a pan of water in the oven while cooking to create vapor, which will help bread develop a more rustic bakery crust.
- Preparation time: 10 minutes (active)
- Cooking time: 30-40 minutes
- Category: 180 per edge
Nutrition
- Sodium: 290 mg
- Protein: 5g